Friday, June 28, 2013

Meal Planning :: Dinner Menu for June 24 thru July 8th


The Meal Plan:
  1. Tri-Tip
  2. Tri-Tip Leftovers
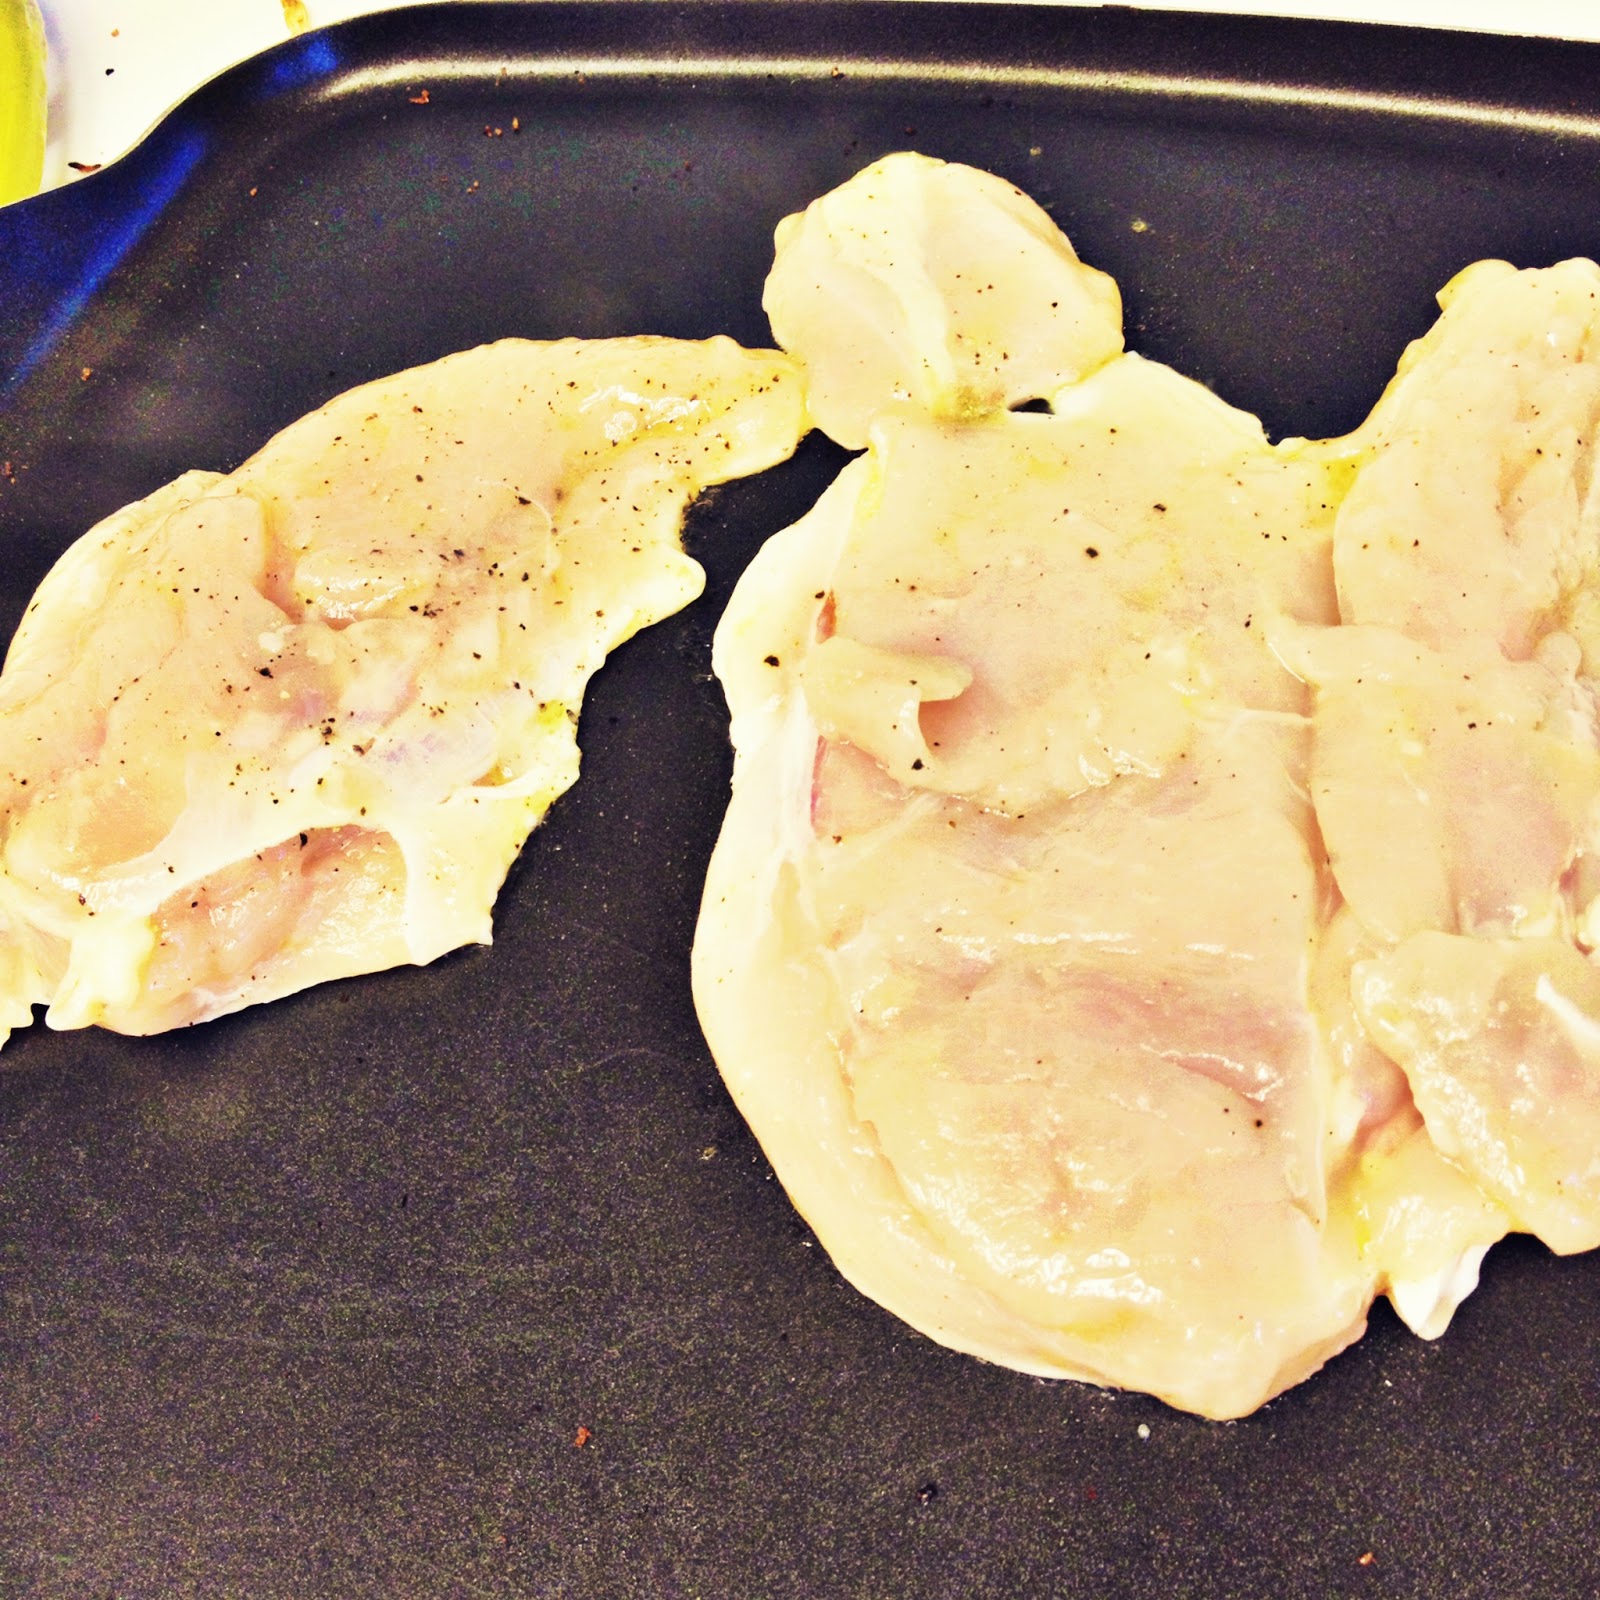
  3. Chicken Thighs (recipe pending)
  4. Spaghetti and Meatballs
  5. Zoupa Toscana*
  6. Sticky Chicken
  7. Pork Fried Rice
  8. Greek Marinated Chicken*
  9. Creamy Pasta
  10. Tri-Tip
  11. Tri-Tip Leftovers
  12. Chow Mein*
  13. BBQ Chicken
  14. Pizza 
*will be blogged

---

I'm a bit late with this post, but we've had a crazy week.
This month, I bought some extras but haven't gone too far out of budget to do it, thankfully. So far, I'm only about $15 over budget and I've gotten some tasty extras.

At Costco, I went meat-crazy! I got my much-longed-for bacon, some ribs, tri-tip, chicken thighs and bread. This came to around $85.00 But that's 4 lbs of bacon, two huge slabs of ribs, two tri-tip roasts, 3 meals worth of chicken thighs, and two huge loaves of bread.


Then my trip to Winco was $82.81! Not too shabby...and we actually bought soda! But not again...I think we both regretted buying them.

So, for the first half of the grocery shopping month, I'm at $168 (give or take a dollar). Not bad and I could actually stay in my monthly budget if I scrimp on the next menu.

Tuesday, June 25, 2013

Treat Eats :: Tri-tip in the Oven


I'm starting a new category "Treat Eats" for when it's time to "Treat Yo'self". Sometimes I carve out a little extra cash and cut some corners from other meals so we can have something special. This month, it was the summer favorite, Tri-tip!

At Costco, which arguably has some of the better prices for meats, I got it for $5.99/lb. For 2 Tri-tip roasts, it's was $23.42.


That's not cheap eats, by any means.

I'm used to grilling my tri-tip, I have a system, it works beautifully. Problem is, in my current home, has a strict HOA and barbecue grills are forbidden. (Condos...*eye-roll*)

So in the heat of the summer, my choices are go to the lake/river or the park to grill outside or use my oven. Since I'm not planning to take my tri-tip on a vacay this time, the oven it is.

First step to tri-tip is the rub or marinade. I'm normally a rub girl, but I decided since I'm roasting this bad boy for the first time, I'll go with the marinade method.

Tri-Tip Marinade


1 white onion coarsely chopped
4 cloves garlic
1 cup orange juice
2 tablespoons Dijon mustard
1 tablespoon Worcestershire Sauce
1 tablespoon salt
2 teaspoons cracked black pepper


1. Add all ingredients to blender, food processor or like me your stick blender measuring cup and puree ingredients.
2. Add tri-tip and marinade to a gallon sized zip-top bag and seal, removing as much air as possible
3. Refrigerate for at least 24 hours.


Roasting Instructions
1. Let roast come to room temp on the counter for about an hour before roasting.
2. Preheat the oven to 425 degrees F.
3. Place the roast on a rack in a shallow roasting pan so air can circulate around the entire roast.
4. Place roast in the oven and roast, uncovered, for 30 to 35 minutes
5. Remove from the oven and cover with foil. Let the meat stand for 15 minutes, which will bring the temperature up to 145 degrees F (medium rare) after standing.
*for a medium done roast, go 40-45 minutes
6. After your meat has rested, cut into thin slices against the grain


Friday, June 21, 2013

Cheap Eats :: Hot and Spicy Taco Filling


To be honest, I use this taco filling for burritos more often than tacos lately...but this recipe gets played in nearly every single bi-monthly meal plan.

It's on the spicy hot side, so I'll add notes for ways to cool it off for families that aren't into the extra kick. My son has a harder time with the spiciness, but we are trying to toughen him up...he can power through this recipe as is, but the husband adds Tapatio to it. That should give you an idea of the heat scale.

Hot & Spicy Taco Filling (or burritos)

Ingredients

  • 1lb ground beef
  • 1 8oz can of El Pato Tomato Sauce (Mexican style...aka hot!) *use regular plain old tomato sauce if you don't want the heat
  • 1/4 can of Rosarita Traditional Refried Beans *use the rest as a side dish
  • 1/2 tsp smoked paprika
  • 1/2 tsp cumin
  • 1/4 tsp oregano
  • 1/2 tsp dehydrated onion
  • 1/4 tsp salt
  • 1/4 tsp pepper

Directions
1. Brown and drain ground beef
2. Add the rest of the ingredients and beef back to the pan and combine well.
3. Cook on medium heat for 5-7 mins until most of the liquid has evaporated.
4. Serve in taco shells or in burrito-sized tortillas with your favorite cheese and toppings!


Taco Night is on!


Thursday, June 20, 2013

Cheap Eats :: Spicy Thai Peanut Sauce with Noodles


This is a personal favorite of mine. I don't know if it's the mix of carb-loaded noodle joy  mixed with peanuts...but I love love love Thai-style peanut sauce, really on anything.

I found this recipe and got excited. The only really exotic ingredient is sesame oil. I can swing that cheaply (TJs) and the rest is already in the cupboards.

Again, I threw half of a grilled chicken breast on top, because it was there...but this is great alone on noodles.

You can dress it up with green onion, or not. Crushed peanuts, or not. Some Sriracha, or...well, you get the picture. Just by itself, it's amazing.

Spicy Thai Peanut Sauce
sauce for 1-2 servings (double to serve 4)


Ingredients
1 tbs brown sugar
1 tbs peanut butter
2 tbs soy sauce
2 tbs sesame oil
red pepper flake (to taste, I used about 1/4 tsp for mildly spicy.)
1/4 tsp sesame seeds (optional )


Directions
1. Mix ingredients in a bowl until smooth
2. Toss with noodles
3. Top with crushed peanuts, chicken, green onion, sesame seeds


Tuesday, June 18, 2013

Cheap Eats :: Creamy Garlic Pasta


I found this recipe on Pinterest a couple months ago and it quickly became a family favorite around here. For me, it's how fast and easy it pulls together. For them, it's the amazing taste!

My son, the picky one, always gobbles up every last bite and asks for seconds. My daughter, the baby who eats everything, loves it enough to grunt for more. The husband, who isn't the biggest eater, will eat a heaping bowlful happily. It's a guaranteed crowd pleaser...and a joy to make. I have the recipe memorized now, I've made it THAT much.

Tonight, I made it with an added element...chicken breast. I know, I know...chicken breast?! From the dark meat lady?! Well, to be fair...I was gifted the chicken breast by my sweet cousin who brought me some groceries after an especially bad day. I already had creamy garlic pasta in the menu and thought the chicken would be a nice treat! (Thanks cuz!)

Otherwise, this makes a fantastic meatless (not vegan) meat.

It's feeds 3-4 people with no leftovers. If you have big eaters, I suggest doubling it. We are not big portion types, so this is perfect for my family of two adults/two kids.

Creamy Garlic Pasta + Chicken

Ingredients
2 tsp olive oil
4 cloves garlic; minced
2 Tbs butter
1/4 tsp salt
1/2 tsp pepper
3 c chicken stock water +
2 tsp chicken bouillon
8 oz angel hair pasta
1 c grated  shredded parmesan cheese
3/4 c heavy cream
2 Tbsp chopped fresh parsley (optional)
---
2 thin chicken breasts (hammered thin or sliced thin)
1 tbs olive oil
salt and pepper

Directions
Pasta


1. In a pot, bring the olive oil to medium-low heat. Add the garlic and stir, allowing it to cook for 1-2 minutes.
2. Add the salt, pepper, water + bouillon. Raise the heat to high and let it come to a boil.


3. Once it is at a rolling boil, add the pasta and cook until tender.
4. Reduce the stove to medium heat and mix in the parmesan until completely melted.


5. Turn off the heat and stir in the cream. Serve immediately.

Chicken
1. Coat chicken in oil and season


2. Heat skillet or griddle to med-high
3. Cook chicken while pasta cooks turning half-way through (about 8 mins on each side)
4. Cook until chicken is no longer pink
5. Slice and divide among pasta bowls.


Monday, June 17, 2013

Cheap Eats :: Strawberry Cake Filling

Last Friday, my little girl had her first birthday! We didn't throw any big party because she's one...it's a big deal for us more than her. That's just us, though. Plus, we're in a new city and don't have a bunch of people to invite anyway, or the funds to throw such a shindig.

One thing I have always done for my son is make him a special rainbow cake every year for his birthday and I'd like to find a similar tradition to have with Lucy. Her Dad wanted to be the one to make her cake, but this year, he had to work on her birthday and decided to leave it up to me (which I was FINE with).

I love making things from scratch, but when it comes to cake, I don't mind using a box. I may get squirrelly for Jack's next birthday and try one from scratch, but this year I didn't have the energy or the time to collect special flour and ingredients I didn't already have on hand...picking up a box and frosting seemed easier.(Ok, I was lazy)

I wanted something festive, not just your basic chocolate or vanilla cake. I decided on Strawberry Cake Mix from Pillsbury because it was pink. I chose to get vanilla frosting and make it pink too with food coloring. But, I thought it would be fun to add a layer of real strawberry filling to the center.

I am terrible at frosting cakes. I have the cool offset frosting spatula, but that only improves things marginally. I have also NEVER used filling in a layer cake before...let alone trying to make it. I was up for this minor challenge and set to work.

I found this recipe for a simple filling recipe. Here's how it went...

Strawberry Cake Filling
 
Ingredients
2 1/2 cups coarsely chopped hulled strawberries
1/2 cup sugar
2 1/2 tablespoons cornstarch 
[1/4 cup water]
 

Directions

[1. Dissolve cornstarch in water]
2. Bring all ingredients to a boil in a heavy small sauce pan, stirring constantly and crushing berries slightly with potato masher back of spoon.
2. Boil 2 minutes to thicken, stirring constantly (mixture will be slightly chunky).
3. Pour into bowl and cool completely.


For my 8" layer cake, this was a bit more filling than I needed. I would reduce it to 1 1/2 or 2 cups of strawberries next time. But this would be the perfect amount for a larger cake. It would also work nicely on top of ice cream or in a hand pie. So if you make the whole recipe for a smaller cake, use the leftovers for something fabulous!
 
 
All in all, it was delicious in the cake and Lucy loved her first slice ever! She gobbled the whole thing up! Everyone loved it, in fact! If Daddy doesn't take over her cake tradition, this might be it! (if Lucy keeps loving it, that is!)


Friday, June 14, 2013

Cheap Eats :: Sweet Heat Sticky Chicken


I bought some orange marmalade a month ago for a recipe I never made. So I was left with a jar and nothing to do with it.

So, I bought some chicken legs at my last trip to Winco and rather than the usual BBQ or roast chicken legs, I decided to try and whip up a sticky glaze with the marmalade.

I loved a recipe that my mom made as a kid, she called it Sticky Chicken. It was made with apricot nectar...something like that. But I loved it! It gave me a taste for sweet glazed chicken. But how to stike a flavor balance?

Heat.

Sweet Heat Sticky Chicken

Ingredients:

6-8 Chicken Drumsticks

Sauce
1/2 cup orange marmalade
3 tbs ketchup
3 tsp soy sauce
1/4 tsp kosher salt
1/2 tsp pepper
1 tbs olive oil
1/2 tsp(or more) Red pepper Flakes
1/4 tsp smoked paprika
1 clove garlic (minced)

Directions:
Preheat oven to 400


1. For the sauce, this is easy, mix all the ingredients in a bowl.
2. Place chicken in a baking dish or on a baking sheet
3. Brush the chicken with the sauce
4. Bake the chicken for 20 mins

5. Remove and brush with sauce again
6. Bake an additional 20 mins
7. Remove and brush again
8. Bake for 15-20 more minutes (I let mine go the full 20)
9. Remove and serve


We had ours with baked red potatoes and it was great. VERY sticky and a nice amount of heat in the background. You'll love it!

Thursday, June 13, 2013

Cheap Eats :: Peanut Butter Oatmeal Chocolate Chip Cookies


I saw this recipe over on Pinterest the other day and it looked good...really good! I've never made no flour, no butter cookies. I was intrigued! 

I had all the ingredients except for one...vanilla extract. I was not deterred. I decided to add an ingredient in that I know tastes amazing with Peanut Butter...maple syrup.

Here is the recipe...[with my notes]

Peanut Butter Oatmeal Chocolate Chip Cookies
Ingredients
  • 1 cup creamy or chunky peanut butter [i used Jif Chunky]
  • 2/3 cup packed dark brown sugar
  • 1 1/2 teaspoons vanilla maple syrup or pancake syrup
  • 2 large eggs
  • 2/3 cup rolled oats [g-free if you want]
  • 1 teaspoon baking soda
  • 2/3 cup chocolate chips
  • [I highly recommend adding 1/8 tsp salt]
Instructions

1. Preheat oven to 350 degrees F

2. In small bowl mix together the oats and baking soda; set aside.


3. In a large bowl beat peanut butter, brown sugar, eggs and vanilla with an electric mixer until smooth, about 3 minutes. Mix in dry ingredients, then gently fold in chocolate chips.

4. Roll cookies into 2 inch dough balls and place onto cookie sheet 2 inches apart, then BARELY flatten the top of the cookie with your hand. The dough should be pretty sticky so if you find this method annoying, simply use a cookie scoop to drop the cookie dough onto the prepared baking sheet. The cookies may not be as round in shape and perhaps a bit thicker, but that’s okay, they will still be delicious. I used an ice cream scoop and dropped my dough onto the sheet. This way yielded only 10 cookies...and they came out huge! Next time, I would roll them into small balls as suggested.
[the dough being sticky is an understatement. It's like no other dough I've made, but so are these cookies. Don't be freaked out about it.]


5. Bake cookies for 9-11[mine went a full 11] minutes and remove when edges barely begin to turn a golden brown. The cookies may look a little underdone, but they will continue to cook once you remove them from the oven. Cool for 2 minutes on the cookie sheet then transfer to a wire rack to cool completely. Repeat with remaining cookie dough. Makes 16-20 10 cookies.


Verdict

Not bad...but not great. It has a decent cookie texture, the lack of flour does make it a bit runnier in the middle (even though they were totally cooked).
Bigger issue, it needs SALT. There is no salt in this recipe and it tastes like it. A whole level of flavor is missing and salt really adds to the taste of peanuts and chocolate. Next time (if there is one, I'd add 1/8 tsp of salt, maybe 1/4 tsp).
All in all...add salt, make sure you don't make them as big as I did, and it should be a pretty good cookie fix for g-free peeps.